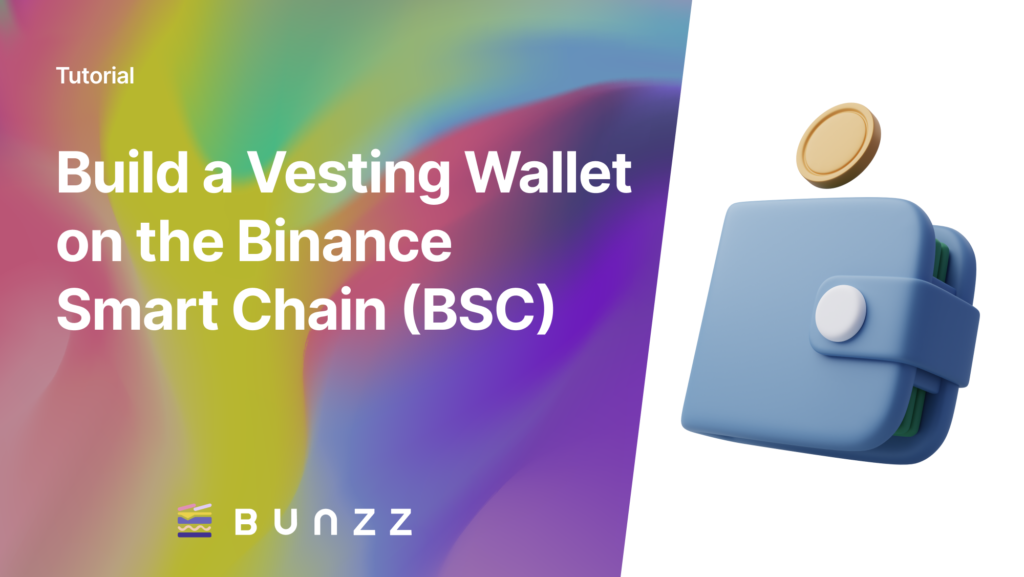
A vesting wallet is a smart contract that allows for a controlled and gradual release of tokens or funds over a specific period. A vesting wallet aims to align token holders’ incentives with the long-term success of a project and reduce market volatility by ensuring that recipients are committed to the project for the long term.
This guide will teach you about a vesting wallet’s basic concepts and functionality. You will also learn how to customize a boilerplate to meet your needs. By the end of this guide, you will clearly understand how vesting wallets work and how they can be used to benefit your project.
This video will show you how to use the vesting module boilerplate. But first, let’s start with a more comprehensive understanding of a vesting Dapp.
General Steps to build a Vesting wallet
Building a vesting wallet involves several key steps, which we will go through in detail:
- Choose a blockchain platform: Select a blockchain platform that supports smart contracts and has the necessary features to build your vesting wallet, such as Ethereum.
- Define the vesting schedule: Decide on the start date, release schedule, vesting periods, and cliff periods for the vesting schedule. For example, if you want tokens to be released every month for two years, with a six-month cliff period, you would define the vesting schedule accordingly.
- Write the smart contract code: Write the code for the vesting wallet in the programming language supported by the chosen blockchain platform, such as Solidity for Ethereum. This code should include the logic for releasing tokens or funds based on the defined vesting schedule.
- Test the smart contract: Thoroughly test the smart contract to make sure it works as intended and is free of bugs.
- Deploy the smart contract: Deploy the smart contract to the blockchain network and make it available to users.
- Monitor the smart contract: Regularly monitor the smart contract after deployment to ensure that it is functioning properly and that the vesting schedule and other aspects of the contract are functioning as intended.
These are the general steps to build a vesting wallet, but the specific steps and details may vary depending on the blockchain platform and the requirements of your vesting wallet. It’s important to consult with blockchain developers, solutions architects, or a technical advisor to ensure that your vesting wallet is built correctly and meets your needs.
A QuickStart to Build a Vesting Wallet
Building a vesting wallet can be a complex process, but with the help of a boilerplate, it can be made much easier. Bunzz has provided a boilerplate on Github to simplify building a vesting wallet.

Let’s walk through the steps of using the Bunzz boilerplate to build your vesting wallet. The boilerplate provides a pre-written codebase that can be easily customized to meet your specific needs, allowing you to save time, test, and deploy your vesting wallet to a blockchain network.
How to use the Vesting Wallet Boilerplate
As introduced in the video above, here are key steps to get started with the vesting wallet Boilerplate and make sure you have everything needed to run and customize the boilerplate for your use case.
- Clone the GitHub repository of the vesting wallet Boilerplate to your local computer.
- Open the cloned repository using your preferred IDE, such as Visual Studio Code.
- Install the necessary NPM packages by running npm install in the terminal.
- Replace the existing smart contract address and ABI with the ones you have deployed from Bunzz.
- Start the app by running npm start.
- Edit and customize the code to fit your specific use case, such as changing the interface or adding new features.
Things to Know Before Using Vesting Wallet Boilerplate
The vesting wallet boilerplate was built using the following:
- React.js for the Front-End and user interface
- Web3.js and ethers.js to interact with smart contracts deployed from Bunzz
- Binance Smart Chain (BSC) Testnet
These smart contracts modules were deployed (you’ll need to deploy all three (3) contracts to use the boilerplate successfully):
- Payment Splitter Smart Contract
- EscrowbyAgent Smart Contract
- ERC20 Token Smart Contract
- VestingWallet Smart Contract
The boilerplate can perform the following:
- Set vesting token address.
- Create and revoke the vesting schedule by inputting a beneficiary wallet address, startTimeStamp, and DurationSeconds.
- The owner of the vesting wallet can release vesting tokens to the beneficiary.
By following these steps, you will have everything you need to get started building a vesting wallet and customize it for your use case.
Use cases of a Vesting Wallet.
Let’s dive into the real-world applications of vesting wallets and see how they can be used to achieve specific goals.
- Employee Equity: Companies can use vesting wallets to provide equity to employees, with the release of tokens scheduled over time to incentivize employees to stay with the company for the long term. This helps ensure that the employees are vested in the company’s success and helps retain top talent.
- Token Distribution: Projects can use vesting wallets to distribute tokens to stakeholders such as investors, advisors, or developers. By scheduling the release of tokens over time, projects can encourage stakeholders to hold onto the tokens for the long term and not sell them immediately. This helps reduce market volatility and provides stability for the project.
- Community Building: Vesting wallets can build a committed and engaged community around a project. For example, a project might distribute tokens to early adopters with a vesting schedule, incentivizing them to hold onto the tokens and be active participants in the community.
- Fundraising: In fundraising campaigns, vesting wallets can provide investors with a more stable investment environment. By distributing tokens with a vesting schedule, projects can reduce market volatility and ensure that funds are not immediately sold, providing stability for both the project and the investors.
- Staking Rewards: Vesting wallets can also distribute staking rewards to token holders. The vesting schedule incentivizes token holders to hold and stake the tokens for the long term, contributing to the security and stability of the network.
Vesting wallets play a crucial role in the blockchain industry and have many uses. Whether you’re a company looking to provide equity to employees, a project looking to distribute tokens, or a community-building initiative, vesting wallets offer a flexible and effective solution.
By following these steps and using the boilerplate, you will have everything you need to build a vesting wallet and customize it for your use case.
We can’t wait to see what you’ll build; if you follow these steps and get stuck or have any questions, feel free to reach out on Discord or send a DM on Twitter.