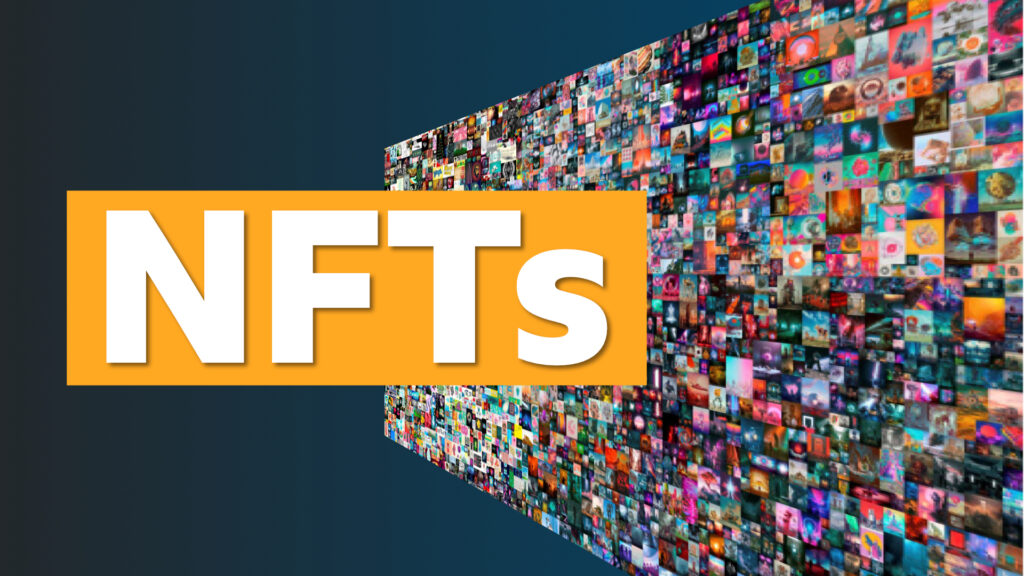
Non-fungible tokens (NFTs) have taken the world by storm in recent times. While one cannot say it’s new, it hasn’t been around for too long as it was only created in 2014. NFTs are receiving lots of rave reviews because it creates a new means for digital creators to make lots of money.
Graphics designers, artists, musicians, and other content creators can sell their art, videos, music, and other items for prices that they would never have dreamed of. There have been lots of big NFT sales in recent years with lots of celebrities been involved. For example, the founder of Twitter, Jack Dorsey sold his first tweet as an NFT for just over $2.9 million. Another example is the NFT sold by Beeple for $69 million. There are lots of other examples of big-money NFT sales and this reflects in the alleged $174 million that has been used to buy NFTs since 2017.
While we have stated that NFTs are quite popular and some sell for a lot of money, we have not defined NFTs. So, what are they?
Non-fungible tokens are unique data stored on a blockchain (usually Ethereum blockchain) that certifies the uniqueness of a digital file. The keywords in this definition are unique and non-fungible. NFTs are unique in the sense that there are only one of those items available anywhere and the item is not interchangeable.
While NFTs are built using the same programming concept as blockchains like Ethereum or Bitcoin, Non-fungible tokens are different in the sense that while cryptocurrencies like Bitcoin can be traded interchangeably, the uniqueness of NFTs make the value of NFTs unstable. In essence, the value of 1 kg of Gold in Nigeria is the same as 1 kg of gold in the US, likewise I Ethereum is always equal to another Ethereum. However, since NFTs are unique and non-fungible, their values differ. In summary, NFTs are unique digital items such as videos, audio, photos, and other digital files that are scarce and can’t be duplicated.
Important concepts and terminologies to know before developing an NFT
Difference between ERC20 and ERC721 tokens
The difference between these two concepts is what makes NFT different from other blockchains. ERC20 tokens are fungible tokens that is why they are interchangeable. ERC20 (Ethereum Request for Comment) is the standard protocol for creating tokens on the Ethereum blockchain. ERC721, on the other hand, is the token standard protocol on Ethereum for NTFs. In addition to the ERC20 features that allow tokens to be transferred from one address to another, ERC721 requests for an additional tokenId, because of NFTs are required to be unique.
Description of OpenZeppelin
OpenZepplin is a library/package that provides secure smart contracts for the Ethereum blockchain network. OpenZeppelin contracts are written in Solidity. In this case, it will be used to set up a new ERC721 token contract.
Description of Truffle
Truffle is a framework built based on the Ethereum Blockchain that helps users easily build DApps. It serves as a development environment, testing framework, and asset pipeline all-in-one. The truffle framework allows developers to compile and deploy Smart Contracts and also build standard front-end interfaces for Decentralized applications.
Building a Non-fungible token
Now that we have an understanding of the concepts and technologies that are required in building NFTs, it’s time to start the application. You must have Node and the package manager (NPM) that comes with it installed on your system. After that, all you need to do is to follow these steps:
Note: We will use windows in this article, but the process is similar on Mac.
Step 1: Install Truffle Framework
npm i -g truffle
If you do not already have truffle installed on your computer, use the command above to install it globally. You can skip this step if you already have truffle. It’s best to have the latest version of node installed so you don’t have any issues during installation. To confirm truffle is installed properly, run this command:
truffle

Step 2: Initialize truffle and install OpenZeppelin
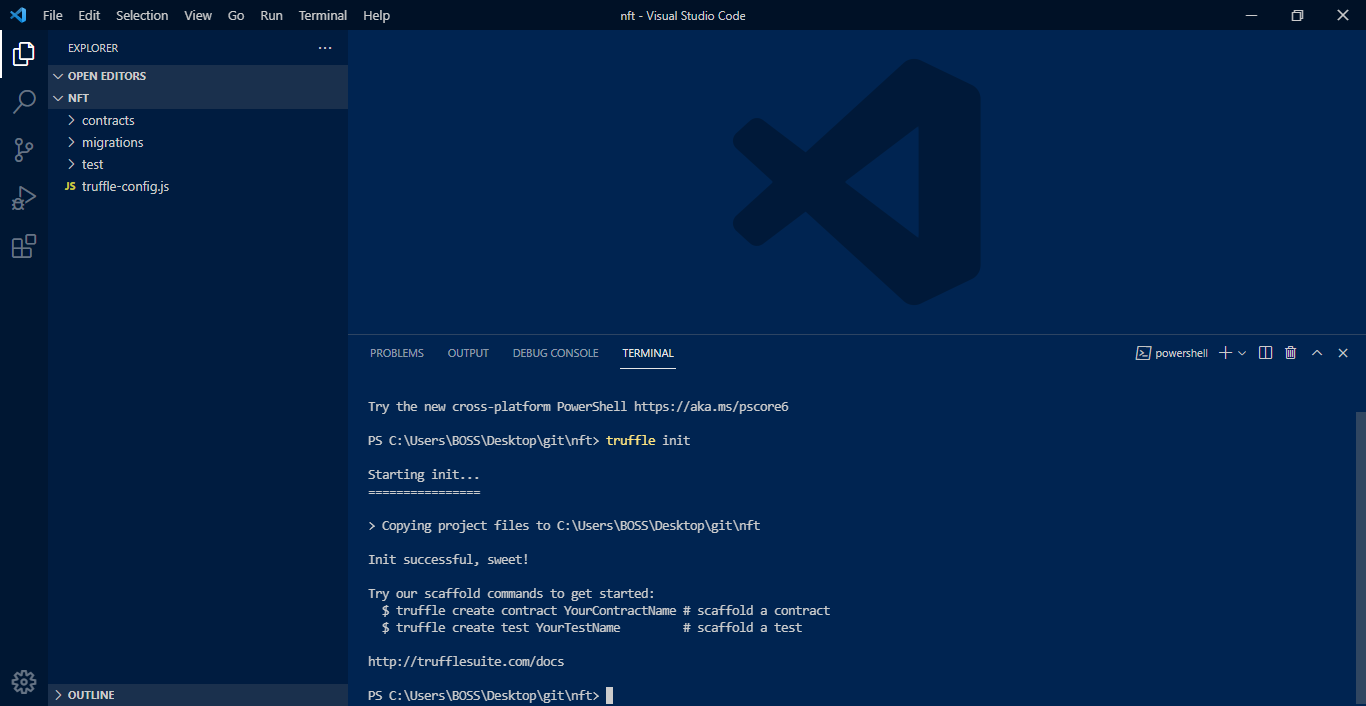
Create a folder. You can give it whatever name you want; in my case, I will simply name it “nft”. Initialize truffle by using this command; This will spin up the basic truffle files required to make contracts.
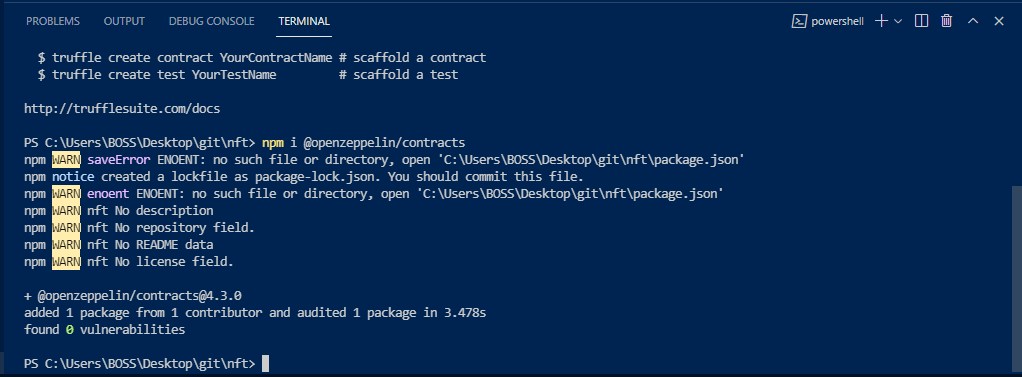
npm i @openzeppelin/contracts
Step 3: Generate an OpenZeppelin contract
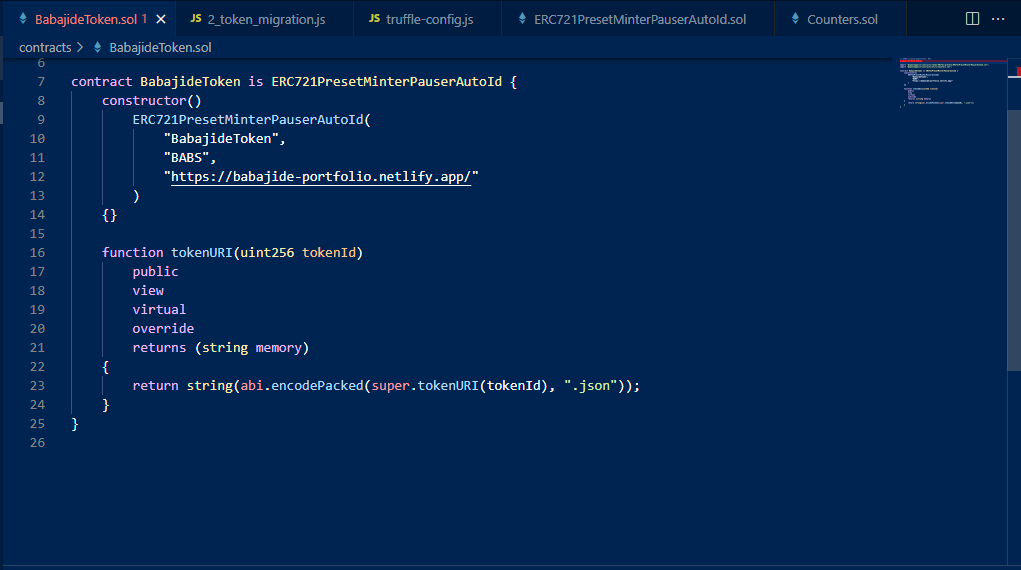
OpenZeppelin provides us with a preset that helps users easily create ERC721 tokens. This preset has inbuilt functions that help us mint (create) and destroy tokens, pause token transfers, and automatically generate token ID and URI. The preset in the “node_modules” folder in this directory “@openzeppelin/contracts/token/ERC721/presets/”. First, you go to the “contracts” folder and create a new .sol file. You can give it any name you like; in my case, I called it “BabajideToken”. The constructor sets up a new ERC721 Token Contract using the name, symbol, and tokenURI base url that you pass into the constructor. In my case, I used the following details.
// SPDX-License-Identifier: MIT
pragma solidity 0.8.3;
import “@openzeppelin/contracts/token/ERC721/presets/ERC721PresetMinterPauserAutoId.sol”;
import “@openzeppelin/contracts/utils/Counters.sol”;
contract BabajideToken is ERC721PresetMinterPauserAutoId {
constructor()
ERC721PresetMinterPauserAutoId(
“BabajideToken”,
“BABS”,
“https://babajide-portfolio.netlify.app/”
)
{}
function tokenURI(uint256 tokenId)
public
view
virtual
override
returns (string memory)
{
return string(abi.encodePacked(super.tokenURI(tokenId), “.json”));
}
}
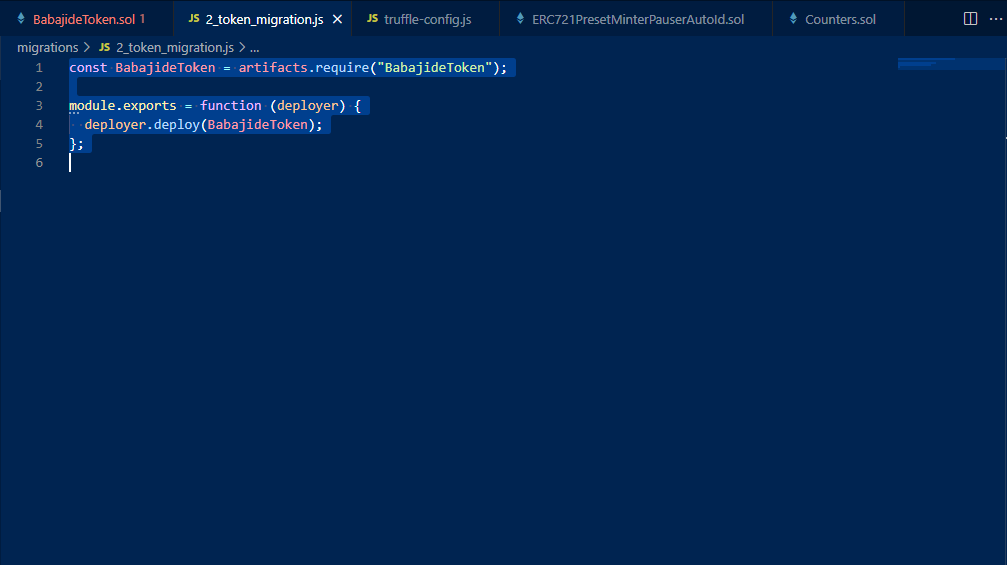
Step 4: Create a Migrations file
Go to the Migrations folder, create a “.js” file and call it “2_token_migration”. Add the following code and save.
const BabajideToken = artifacts.require(“BabajideToken”);
module.exports = function (deployer) {
deployer.deploy(BabajideToken);
};
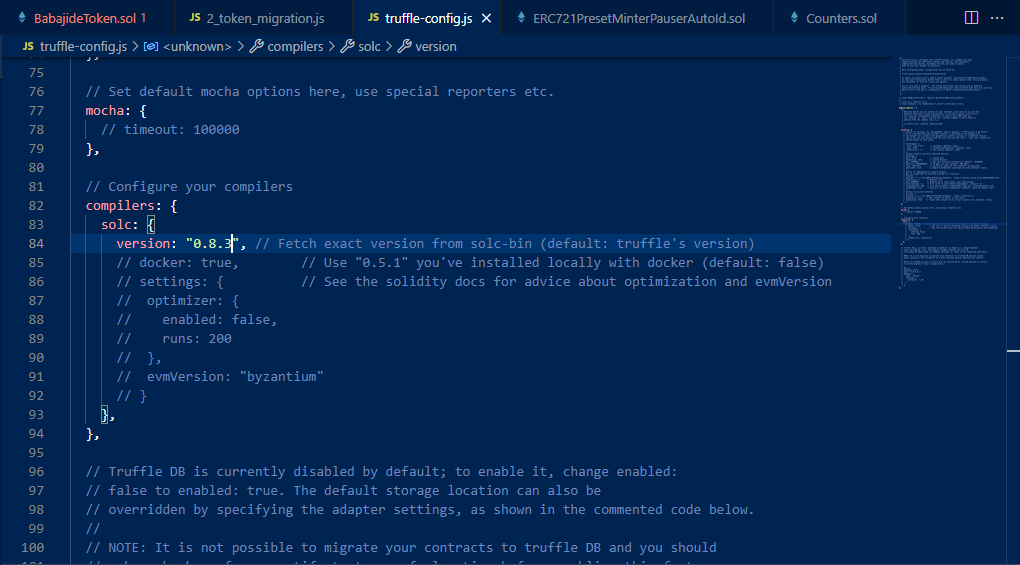
Step 5: Configure solidity version
Go to the truffle config file and set the version to 0.8.3
compilers: {
solc: {
version: “0.8.3”, // Fetch exact version from solc-bin (default: truffle’s version)
// docker: true, // Use “0.5.1” you’ve installed locally with docker (default: false)
// settings: { // See the solidity docs for advice about optimization and evmVersion
// optimizer: {
// enabled: false,
// runs: 200
// },
// evmVersion: “byzantium”
// }
},
},
Step 6: Start a truffle development blockchain
truffle development
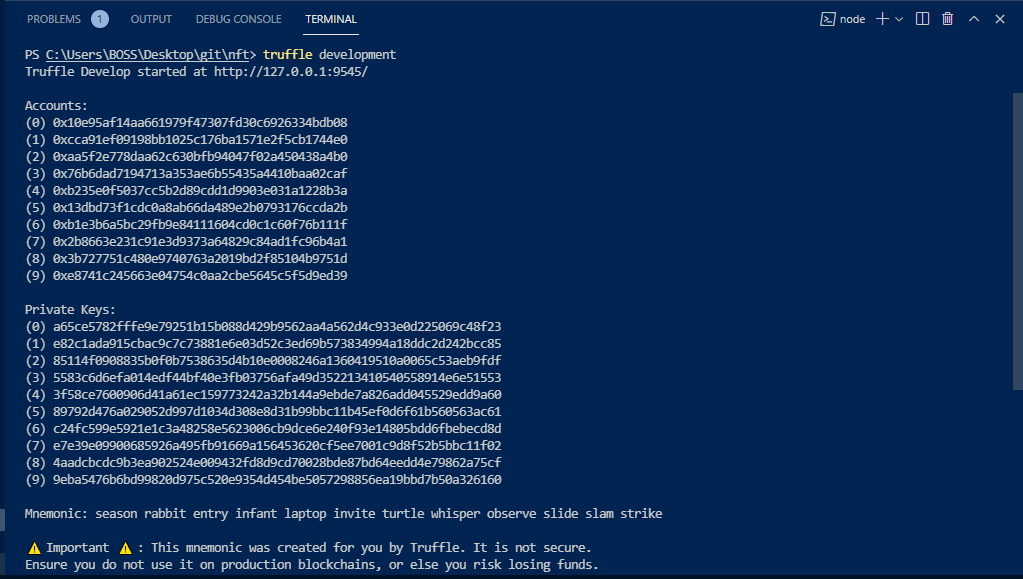
This code starts a development blockchain on port 9545 and the truffle command line prompt.
Step 7: Migrate the smart contracts
migrate
This compiles solidity contracts into JSON artifacts and then deploys them to an emulated Ethereum network.

Step 8: Testing
While still in the truffle environment, deploy the token and store it in a “token” variable.
let token = await BabajideToken.deployed();
It returns “undefined”. Enter variable to see the token that you saved
token

Then create(mint) a new token to our first address to see if that works.
token.mint(accounts[0]);
It does work.

Let send it to our second address and check the balance which should be “1”
token.transferFrom(accounts[0], accounts[1], 0);
(await token.balanceOf(accounts[1])).toString()

If you find all this too hard for your current coding knowledge, you can try minting your own NFT or launching your own NFT Marketplace very easily and quickly with BUNZZ graphic user interface.
You can learn more about Bunzz here: app.bunz.dev