This guide explains how to generate, deploy, and mint ERC20 tokens using the Bunzz development platform in no-code. Yarn will be used as the node package manager in this project. While other wallets can be used, the “Ropsten Test Network” on MetaMask is the wallet used to connect to the Ethereum blockchain in this tutorial.
Note: Windows will be used in this article to generate the token, but the process is similar on Mac.
PART 1: BUILD & DEPLOY SMART CONTRACT
The first part of this tutorial involves building and deploying the ERC20 smart contract using Bunzz.
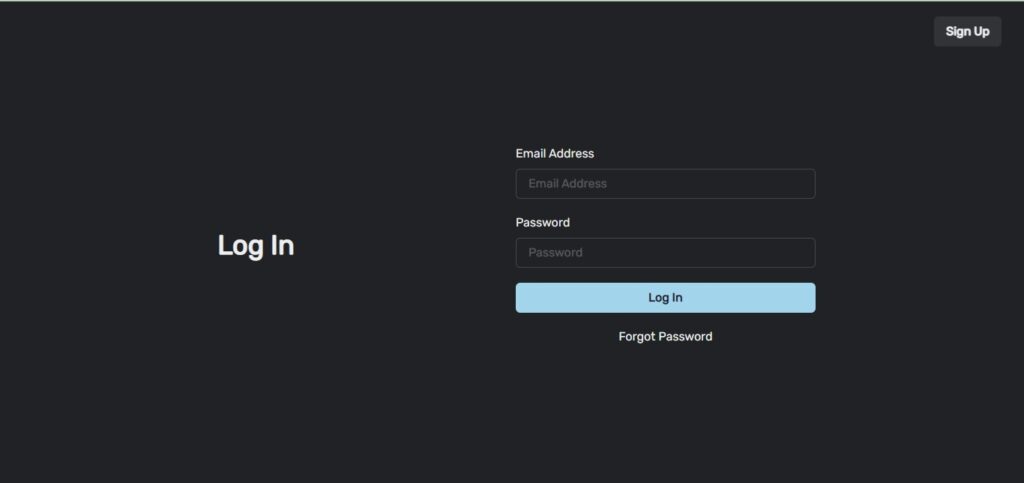
Step 1: Login to the bunzz development platform
Bunzz is used to easily build and deploy numerous smart contracts. In this case, it will be used to create a fungible ERC20 token. Login to the platform if you already have an account, or sign up if you don’t.
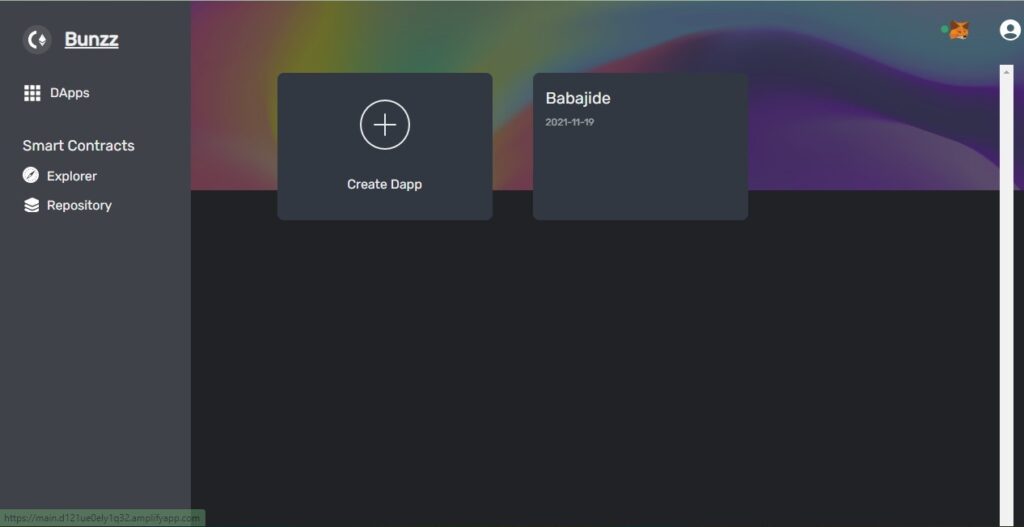
After you are signed in, you will see this dashboard.

Step 2: Create and deploy ERC20 contract.
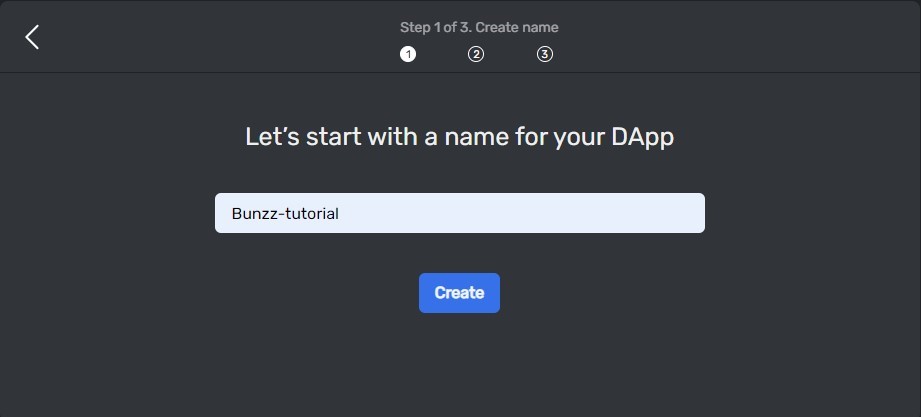
The next thing to do would be to create the ERC20 smart contract. First, we click on the “Create Dapp” which takes you to a page where you fill in the name of the dapp and other details.
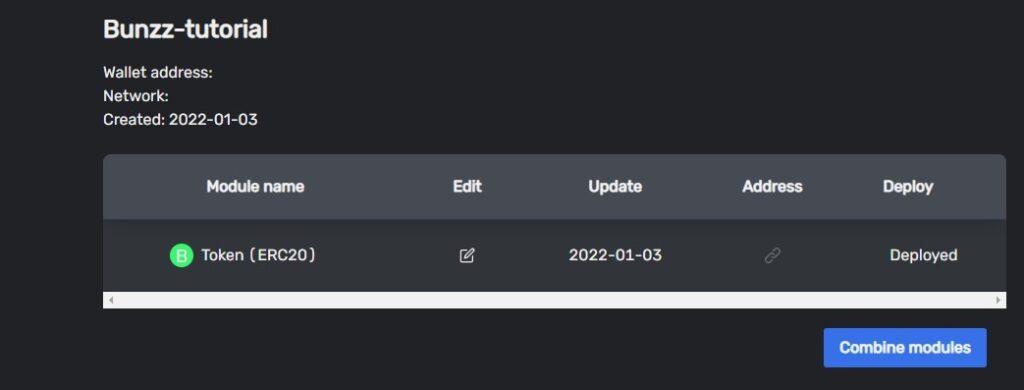
Next fill in the name of the Dapp. I named mine “Bunzz-tutorial” but you can call yours anything you like.
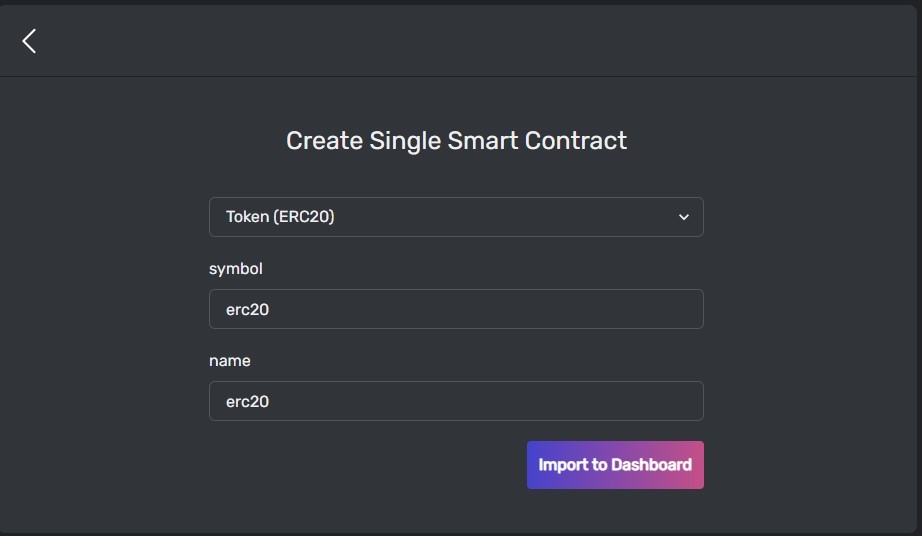
After clicking the “Create” button it takes you to a page where you will choose the type of contract you want to generate. Bunzz gives you the option of creating single smart contact like ERC20, or NFT, or a combination of smart contracts.

In this tutorial since we want to create an ERC20 token, I will choose “Prepared Template” and select “Simple Token”. After this click on “Import to Dashboard”.
The next thing is to deploy the smart contract. This requires gas fees. The amount of gas required is included in the transaction details.
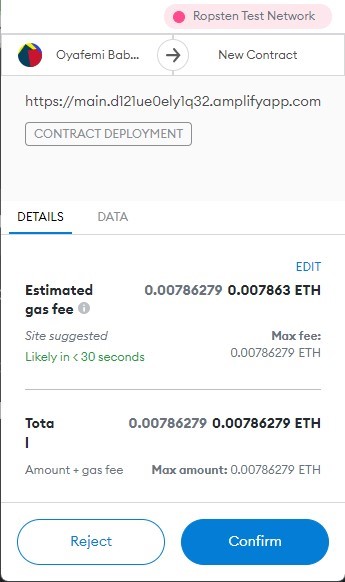
After clicking “confirm”, the gas fee is deducted from your Ethereum balance and the smart contract is deployed.
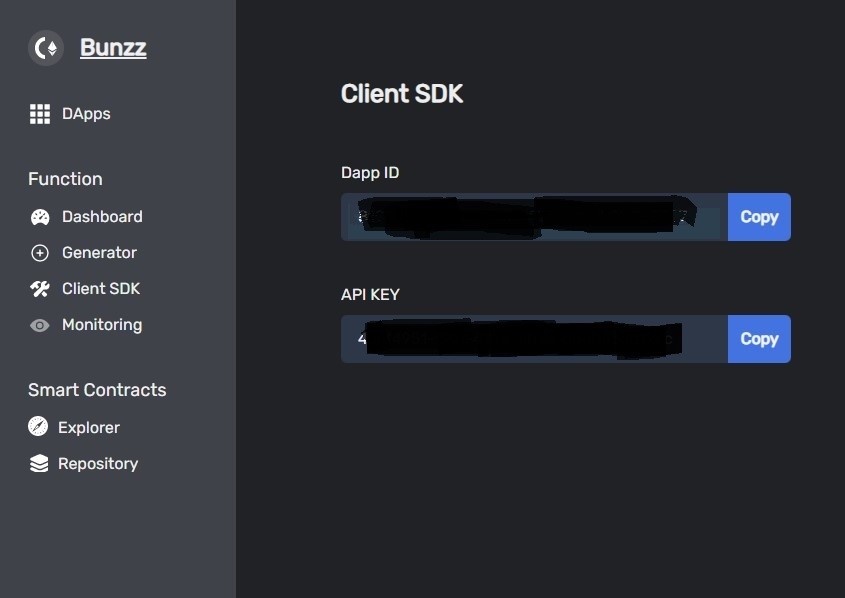
Step 3: Copy DAPP_ID and API_KEY values
Go to the Client SDK tab in your dashboard, copy both the Dapp ID and API KEY values and save it for later.
PART 2: CREATE FRONT END APPLICATION
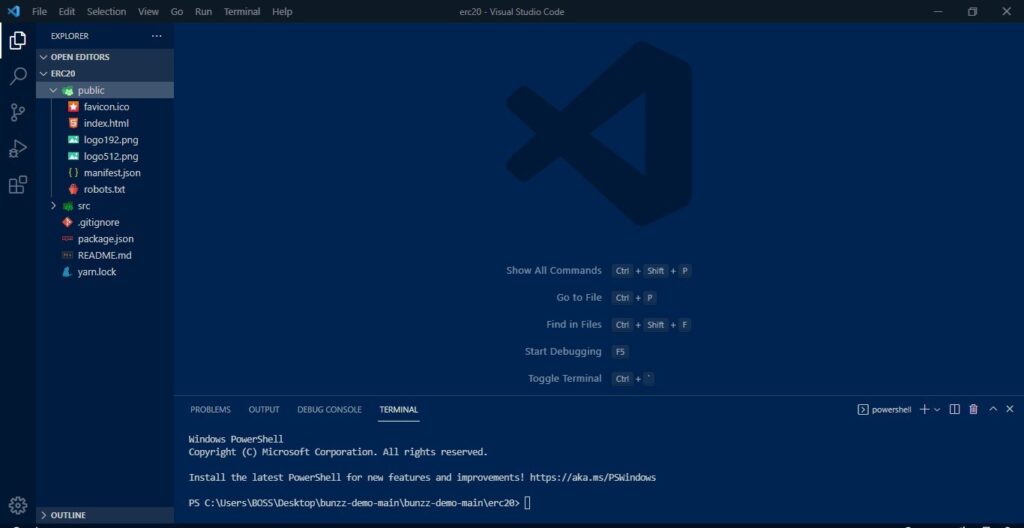
Step 1: Clone front end boilerplate code
To make this project a little easier, we have been provided with the React frontend code for this project. You can clone the repo using via this link. This is what you should see:
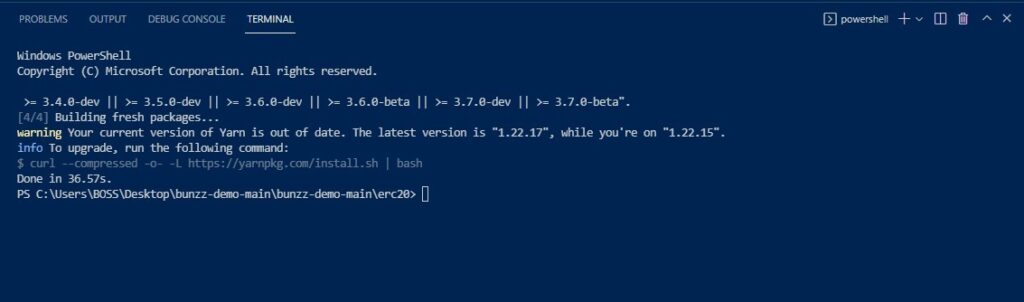
Step 2: Install dependencies
yarn installNext install all the dependencies using yarn package manager. If you do not have yarn already installed on your system, visit this link to install yarn on your system.
Step 3: Login to your metamask account.
Since we will need to interact with the Ethereum blockchain, metamask which is a secure wallet will be used. If you are using Chrome, Metamask offers an easy-to-use wallet as a chrome extension. All you need to do is to download it, install, and sign up or login. You can visit this link to download metamask.
Step 4: start the react app
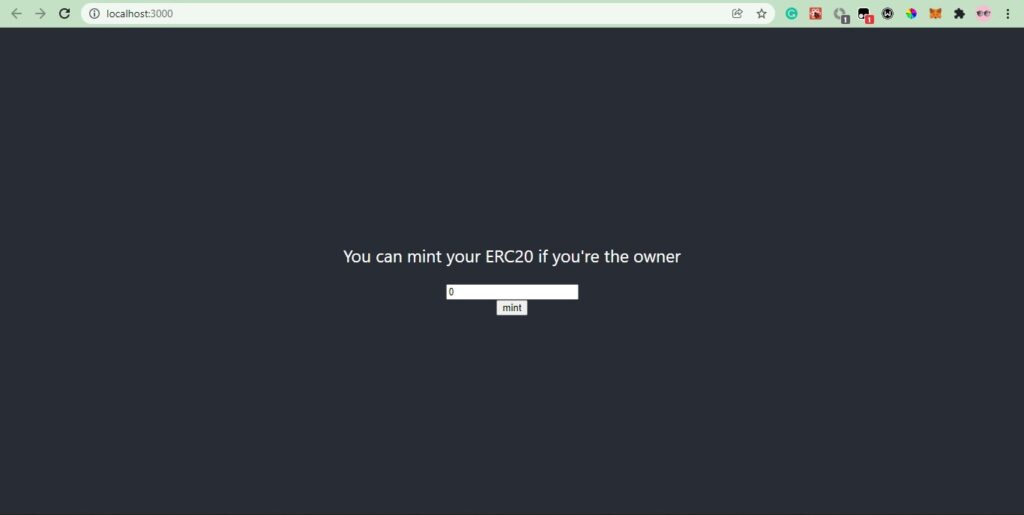
yarn startThis code starts the react server. The interface below is what you should see when you start the react server.
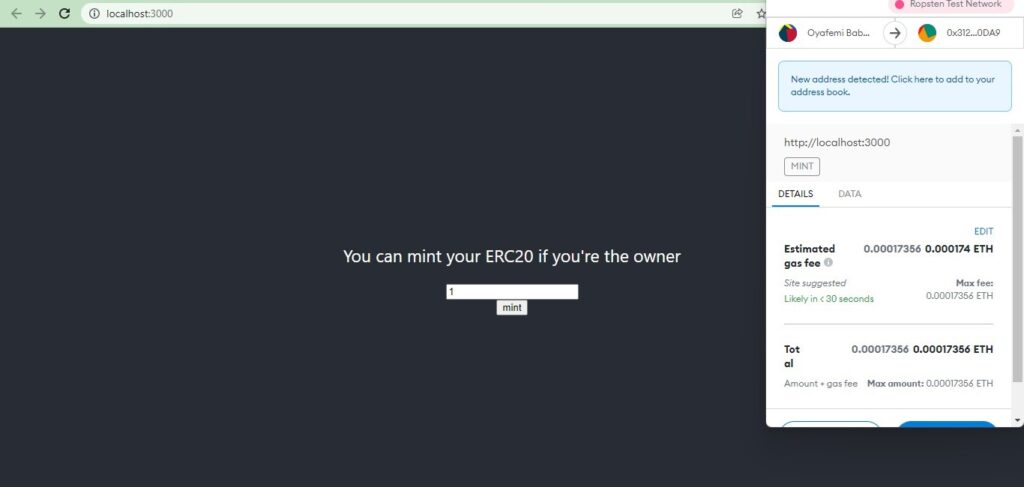
Step 5: Mint your Token
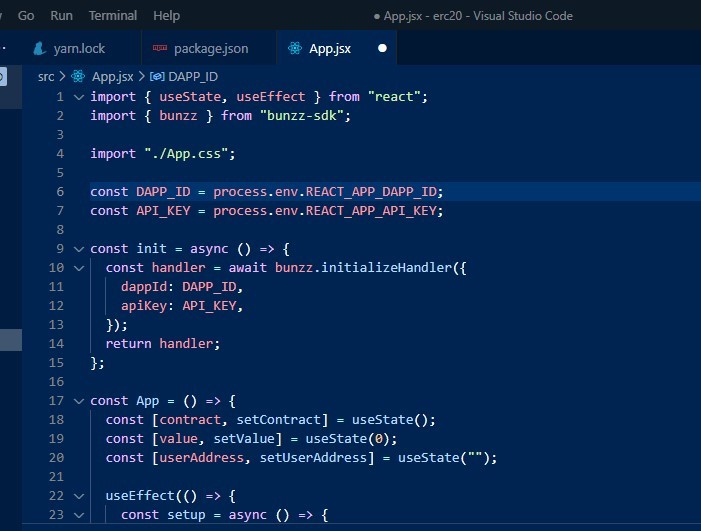
For Bunzz to successfully mint your ERC20 token, it needs some information about the smart contract you deployed in part 1 of this tutorial. Bunzz will get the information it needs from your account using your DAPP ID and API KEY. Set the DAPP_ID and API_KEY constants to the Dapp ID and API KEY values you copied in Part 1, step 3. To know more about the code used to create the smart contract, visit Bunzz documentation.
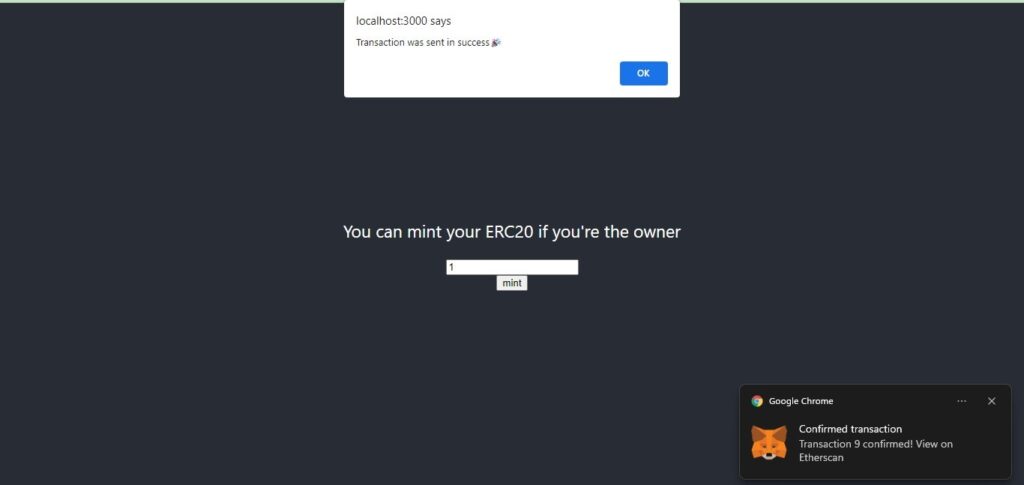
After you save, go to your frontend application and indicate the number of tokens you want to mint, it’s 1 in my case.
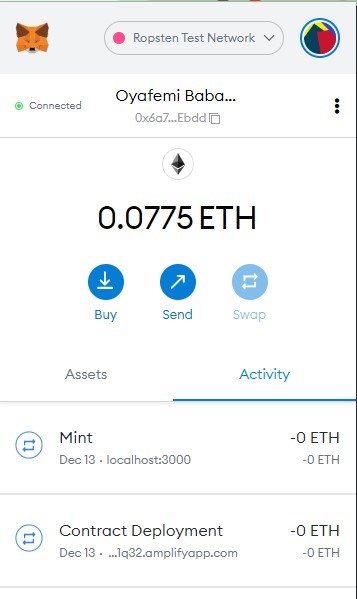
The gas fee required for this transaction then pops up, confirm and that’s all. You have successfully minted your ERC20 token.
That’s it!
Congratulations! You have now created, deployed, and minted your own ERC20 contract.
Start using Bunzz platform here: app.bunzz.dev/