Welcome to this guide on how to build a decentralized application (DApp) using the ERC-4671 module!
This guide will give you a hands-on introduction to DApp development with Ethereum’s ERC-4671, a new rising standard in blockchain. By the end of this tutorial, you’ll have a functioning DApp that can interact with the BSC blockchain.
Technologies Used
This guide will make use of several key technologies and tools in the Ethereum development ecosystem:
- Binance Smart Chain (BSC) Testnet
- Bunzz Ecosystem
- React.js and Ethers.js
- ERC-4671
- Metamask
- Bunzz Boilerplate
Prerequisites
Before beginning this guide, it’s advisable to have a foundational understanding of blockchain technology, focusing on Ethereum and BSC. Some familiarity with JavaScript and VScode will be beneficial as we will use it along with the Web3.js library to interact with the BSC blockchain. Understanding the basic concepts of smart contracts, Metamask wallet, and Ethereum tokens will be immensely helpful.
Before we start, we need to understand what ERC-4671 is, and I promise it won’t be a long, boring history class lecture!
What is ERC-4671
ERC-4671, or Non-Tradable Tokens (NTT), represents personal possessions or achievements on the Ethereum blockchain. These tokens symbolize degrees, certificates, government documents, and other personal items or accomplishments. They are “soulbound” meaning they are not designed for trade or transfer, holding no monetary value and serving as proof of ownership or achievement.
ERC-4671 aims to offer a standardized interface for such tokens, expanding application development and positioning blockchain as a tool for verifying personal possessions and achievements beyond just financial transactions.
Now, let’s build a simple DApp using this token standard.
Building a DApp with ERC-4671
Building an ERC-4671 DApp based on the ERC-4671 standard can be a complex process, but with the help of the Bunzz boilerplate, it can be made much easier.
Let’s walk through the steps of using the boilerplate, which provides a pre-written codebase that can be easily customized to meet your specific needs, allowing you to save time, test, and deploy your DApp to a blockchain network quickly.
Using the Bunzz Boilerplate
Here are key steps to use the ERC-4671 DApp boilerplate and ensure you have everything needed to run and customize the boilerplate for your use case:
- Clone the GitHub repository of the ERC-4671 DApp boilerplate to your local computer.

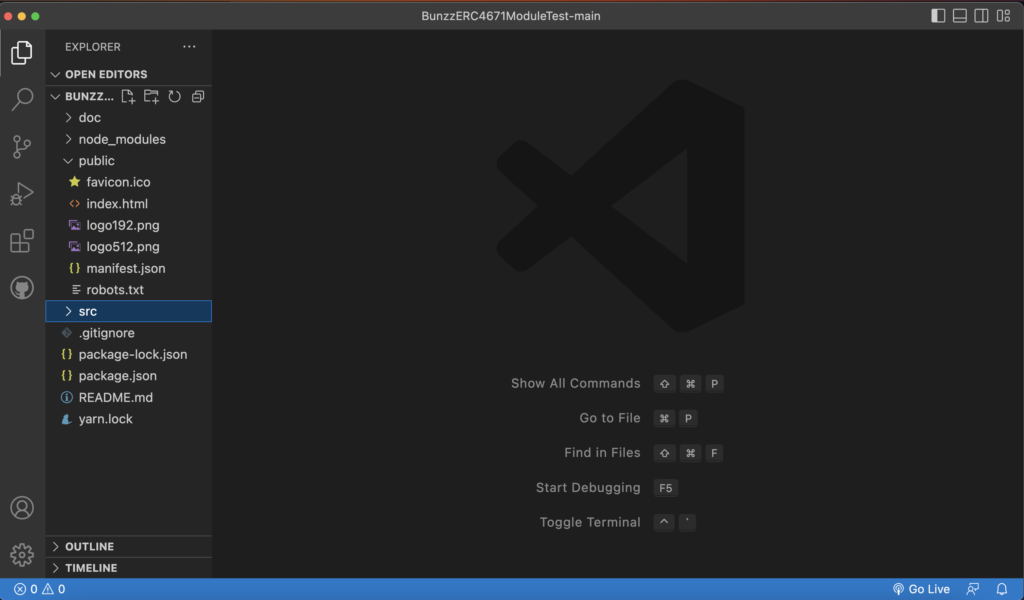
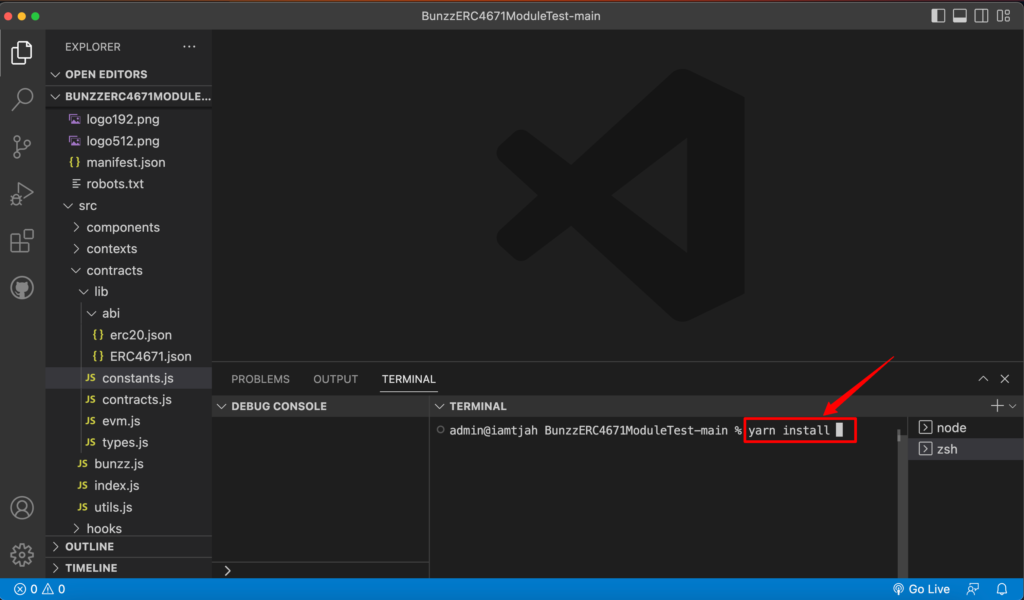
- Open the cloned repository using your preferred IDE, such as Visual Studio Code.
- Install the necessary NPM packages by running npm install or yarn install in the terminal.
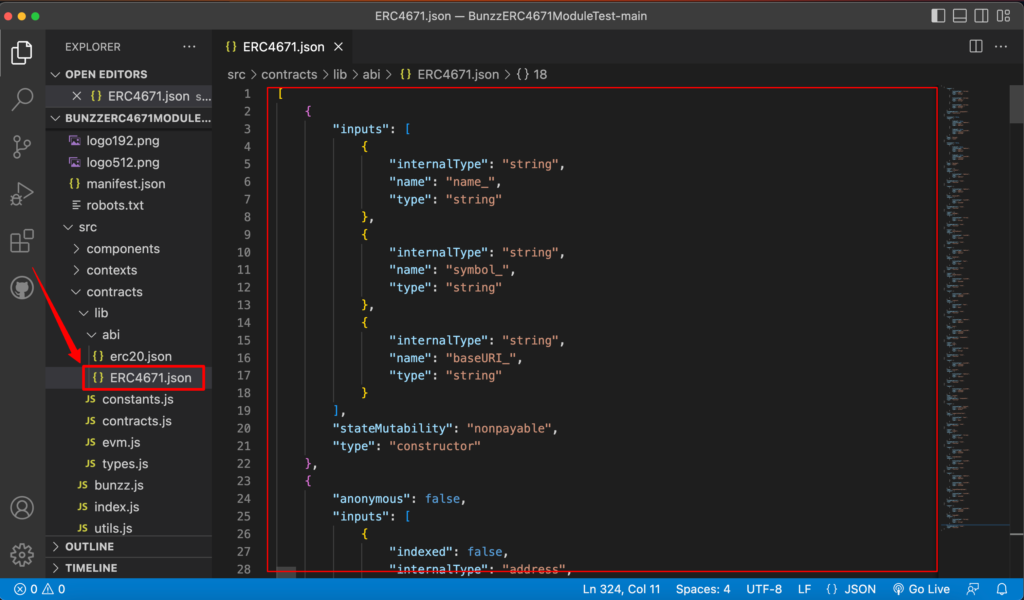
- Copy the ABI and smart contract address from the Bunzz dashboard.

- Open the erc4671.json file and replace the existing ABI content with the one you copied from the Bunzz dashboard.
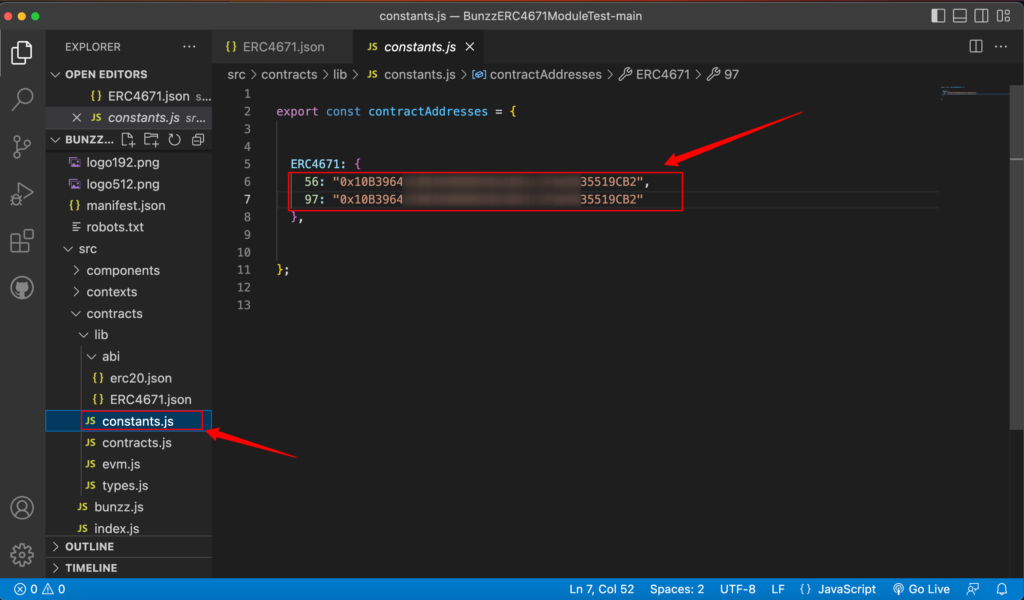
- Open the constants.js file and locate the smart contract address variable. Replace the current address with the one you copied from the Bunzz dashboard.
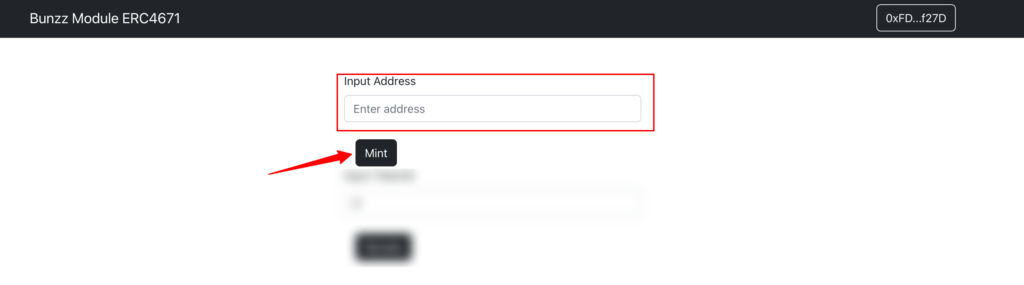
- Start the app by running npm start or yarn start in the terminal. The app’s interface will look exactly like the image below.

Interacting with the DApp
Once you have the DApp on your browser working well, you can interact with it as follows:
- Connect wallet: You should connect the Metamask wallet by clicking connect wallet button at the top right of the screen.

- Mint tokens: To mint tokens, you have to input the address of the account, which will be the token’s owner. Then, click the “Mint” button, which calls the Mint function.
- Revoke tokens: To revoke tokens, you have to input the ID of the token which you are going to revoke. Then, click the “Revoke” button, which calls the Revoke function.

You can change the interface or add new features by editing and customizing the boilerplate code to fit your specific ERC-4671 use case.
These steps will give you everything you need to build and customize a DApp for your use case using the ERC-4671 smart contract module.
——————
By following these steps and using the boilerplate, you will have everything you need to build and customize a vesting wallet for your use case.
We can’t wait to see what you’ll build; if you follow these steps and get stuck or have any questions, feel free to reach out on Discord or send a DM on Twitter.