The goal of this tutorial is to demonstrate how easy it is to build a Dapp using Bunzz Modules and to deploy it on the Aurora network using Bunzz GUI with a few clicks and less than 5 minutes.
In this case, as an example, let’s create an ERC-20 token and a token minting Dapp and deploy it on the Aurora testnet network.
To create a digital currency on Aurora using the ERC-20 standard, you will need the following tools:
- VS code IDE or any other IDE
- Knowledge of JavaScript/React
- Bunzz console
- Bunzz SDK
- MetaMask wallet browser extension
Creating an ERC-20 token
First, visit Bunzz and log in or sign up if you’re new to the platform.

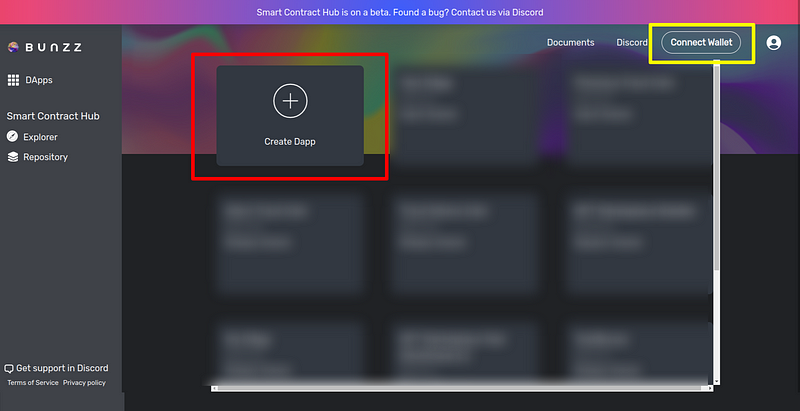
Once you are logged in, you will have access to the Bunzz dashboard where you will find lots of smart contract templates (Modules) corresponding to different use cases.
The next step is to connect your Metamask wallet and then create a DApp as seen in the image below.
Give your DApp a name, you can use any name that comes to mind, I have used “Crypto Token” as mine.

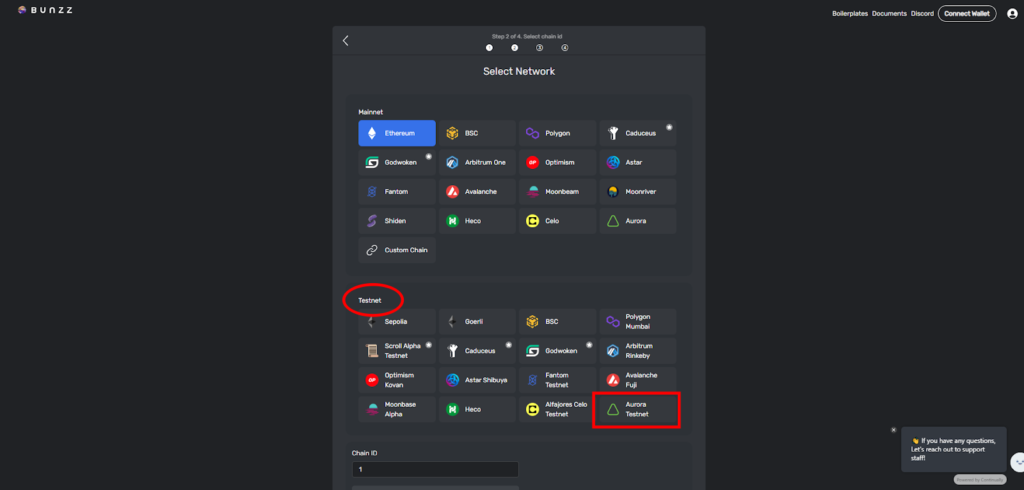
Next, you will be asked to select a network for the DApp. Select Aurora testnet as seen in the image below.
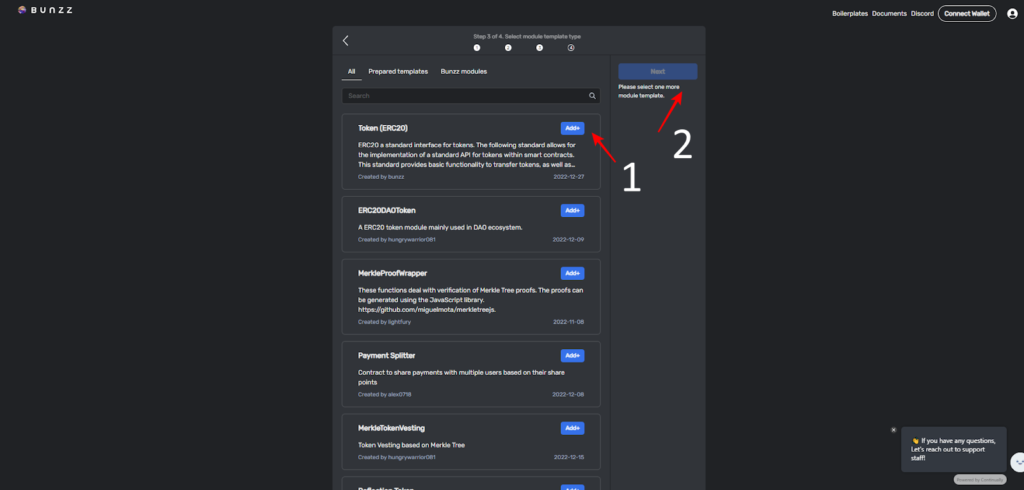
Up next is to select a template from the many available already made smart contract templates. Since we are launching a cryptocurrency, we select the ERC20 token module and then click on “Next” over the Modules cart.
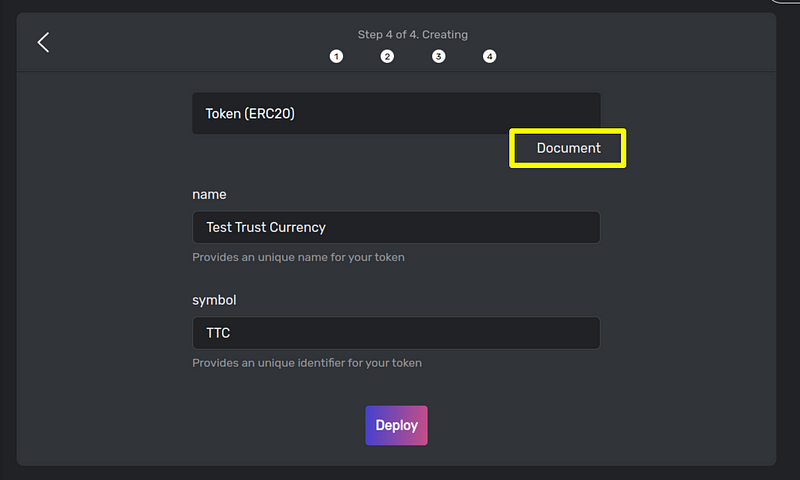
As seen in the image below, the next step is to customize the token by adding a name and a symbol. I have named the token “Test Trust Currency” and TTC as the symbol.

If you wish to see the code behind the ERC20 smart contract, click on the document button.
Once you are done customizing, click on deploy and wait for it to sync by approving the transactions that would pop up via Metamask as seen in the image below.

That’s it, that easy. You have successfully deployed an ERC20 smart contract for your new token named TTC on the Aurora testnet network.
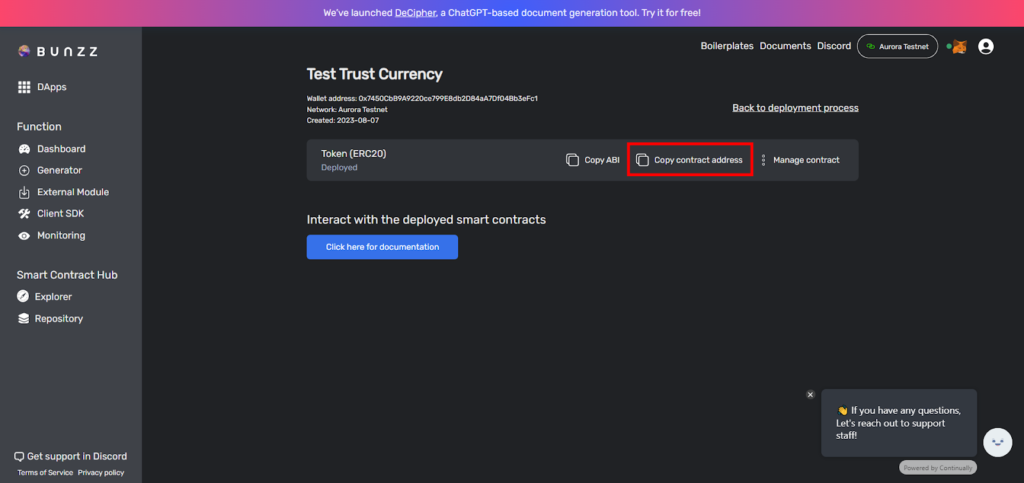
As you can see in the image below, the dashboard now has other features that will allow you to interact with and use the newly launched token as you please.
Check here and confirm if the new token is really on the blockchain. To do that, copy the token contract address highlighted in the image below.
Once you have copied the address, head over to https://explorer.testnet.aurora.dev/ paste the address, and search.

Great! You can see the token name and symbol we created on the Aurora Testnet in the image below. Congrats once again!
If you look at the image below closely, you will notice there’s no supply of crypto coins on the chain.

In this second part, we will fix that and mint the Test Trust Currency (TTC) we created by building a minting Dapp.
Minting ERC-20 Tokens
To add an initial supply of the new crypto coin (TTC), you must mint it.
Step 1 – Create a Frontend application
To make this guide a little easier, we have provided the React frontend code for this project. You can clone the repo using via this link.
This is what you should see:

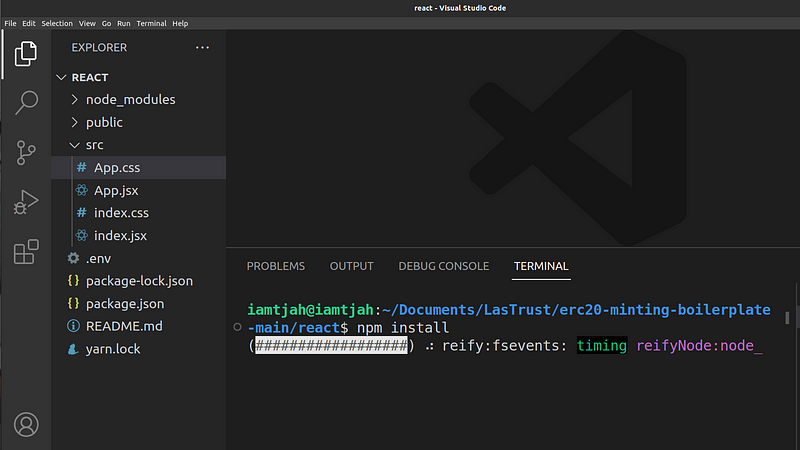
Then clone the React project on VS code (or preferred IDE)
Step 2: Install dependencies
Next, install all the dependencies using npm package manager with the command below:
npm install
If you do not have npm already installed on your system, visit this link to install npm on your system.
Step 3: Copy DAPP_ID and API_KEY values
Go to the Client SDK tab in your Bunzz dashboard, copy both the Dapp ID and API KEY values and save it for later.

Step 4: Log in to your MetaMask account.
Since we will need to interact with the Aurora network, metamask (which is a secure wallet) will be used. If you are using Chrome or Firefox, Metamask offers an easy-to-use wallet as a Chrome or Firefox extension.
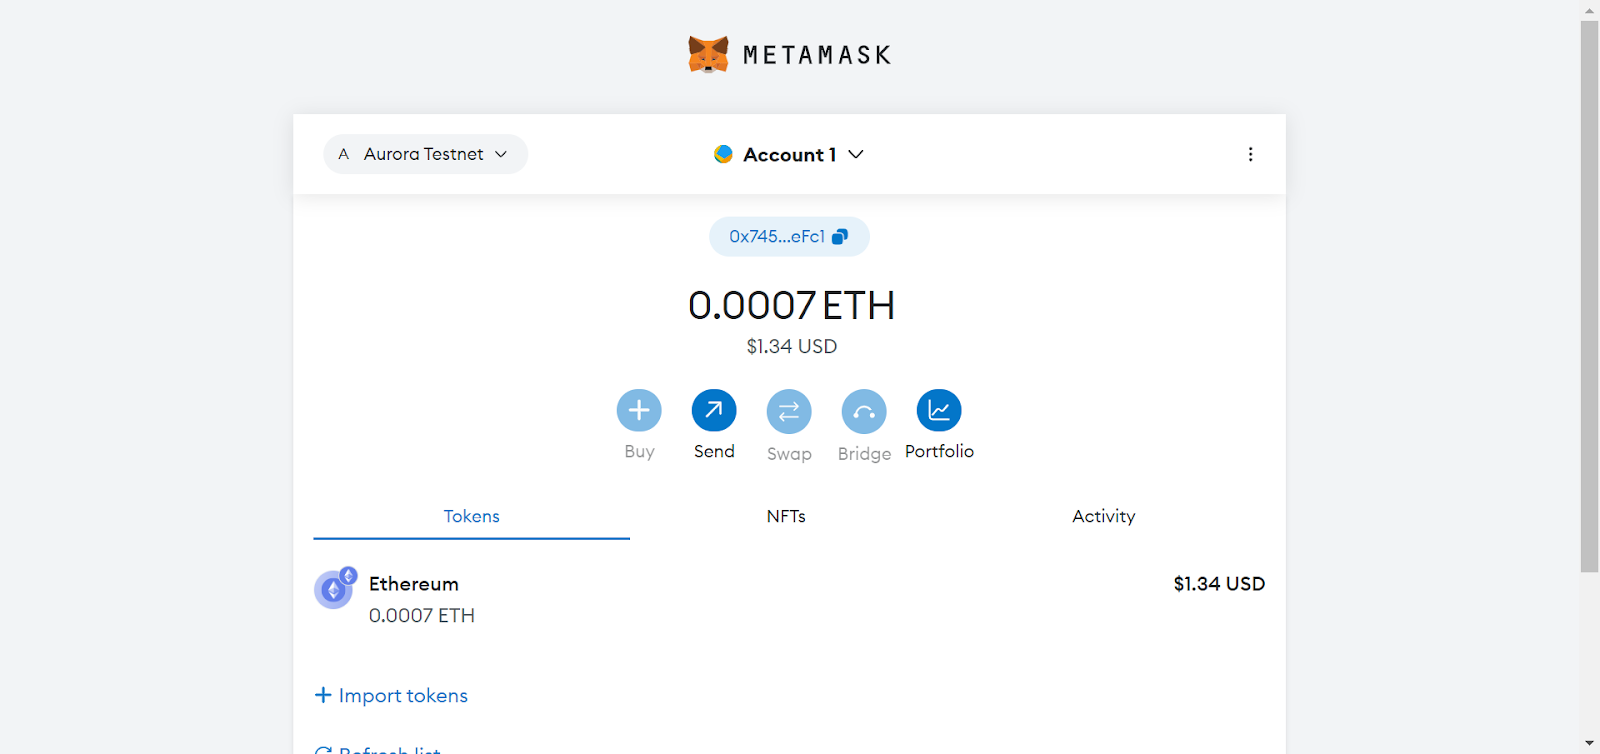
All you need to do is to download it, install it, and sign up or log in. You can visit this link to download metamask.
Step 5: Start the React app
Start the react server with the command npm run start on the VS code terminal.
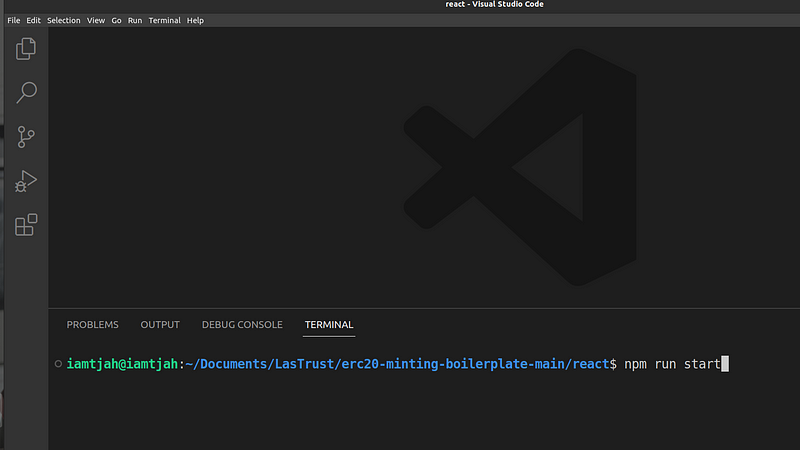
The interface below is what you should see when you start the react server.

Step 6: Set DAPP_ID and API_KEY
For Bunzz to successfully mint your ERC-20 token, it needs some information about the smart contract you deployed earlier.
Bunzz SDK will get the information it needs from the Bunzz console using your DAPP ID and API KEY.
To set the DAPP_ID and API_KEY constants in the React app project you cloned earlier, create a .env file using this command in the VS code terminal:
touch .env
Copy the Dapp ID and API KEY values you copied in step 3 and paste it inside the .env file as seen in the image below.

In the App.jsx file, you can see where the DAPP_ID and API_KEY values are called.

Step 7: Mint your Token
After you save, start the app again or go to the frontend app if started already and indicate the number of tokens you want to mint, it’s 1 in my case.

When you click on the mint button, the gas fee required for this transaction then pops up, confirm and that’s all. You have successfully minted your ERC20 token on Aurora.

That’s it!
Congratulations! You have now created, deployed, and minted your own ERC-20 contract on Aurora testnet (and you can replicate the same exact step for Aurora mainnet).
To confirm that you have minted the amount of crypto coin you wanted, head over to https://explorer.testnet.aurora.dev/ paste the token address (as it was done towards the end of part 1).The supply for TCC is now 1
To know more about the code used to create the smart contract, visit Bunzz documentation and the Bunzz Github account.
Conclusion
If you decide to make your own public crypto coin, make sure to use this guide only as a starting point. It’s a deep topic that takes a long time to understand fully. And this ERC20 minting Dapp was used only as a depiction of how easy it is to use Bunzz to deploy your own custom smart contracts or Bunzz Modules on the Aurora network
If you follow these steps and go stuck, or if you have any questions, feel free to reach out on Discord or send a DM on Twitter.