If you’re a developer interested in exploring Initial Coin Offerings (ICOs) and building DApps for ICO management, you’ve come to the right place.
This guide will take you through how to use the ICO smart contract module. Whether you’re an experienced developer or new to blockchain, you’ll learn the practical steps to create an ICO DApp.
By the end of this tutorial, you’ll grasp the concept of ICOs, discover the features of the ICO contract module on Bunzz, and gain the expertise to launch your own ICO DApp.
Let’s get started! But first, let’s begin by understanding what an ICO is.
What is ICO and an ICO DApp?
ICO stands for Initial Coin Offering, a fundraising method used by blockchain-based projects to raise capital by issuing and selling cryptocurrency tokens. ICOs became popular during the cryptocurrency boom, especially in 2017 and early 2018.
An ICO DApp, or Initial Coin Offering Decentralized Application, is a blockchain-based application that facilitates launching and managing an Initial Coin Offering (ICO) campaign. It combines the functionalities of a decentralized application (DApp) with the specific features required for conducting an ICO.
The purpose of an ICO DApp is to provide a secure, transparent, and efficient platform for token sales and fundraising. It typically includes token generation, token sale mechanisms, investor whitelisting, KYC procedures, funds management, token distribution, and refund mechanisms. These features are implemented through smart contracts like the ICO contract module, ensuring that the ICO process is trustless and automated.
How to Build an ICO DApp?
Building an ICO DApp or any type of DApp requires customized smart contracts to cater to the application’s specific needs. In the context of an ICO, you’ll need smart contracts that handle token sales, distribution, and token-to-withdrawal processes. While building an ICO DApp may seem challenging, it can be simplified using the ICO contract module template designed explicitly for ICO DApps.
To use the ICO contract, you’ll need the following:
- Bunzz account: Create a Bunzz account to deploy the smart contract to your preferred blockchain.
- ABI and smart contract address: Generate the ABI (Application Binary Interface) and obtain the smart contract address. These will be used on the frontend to interact with the contract.
- ERC20 token: Prepare an ERC20 token that will be used for your initial coin offering. This token will be distributed to participants during the ICO.
- IDE (preferably VSCode): Set up an Integrated Development Environment (IDE) for coding and testing your ICO DApp.
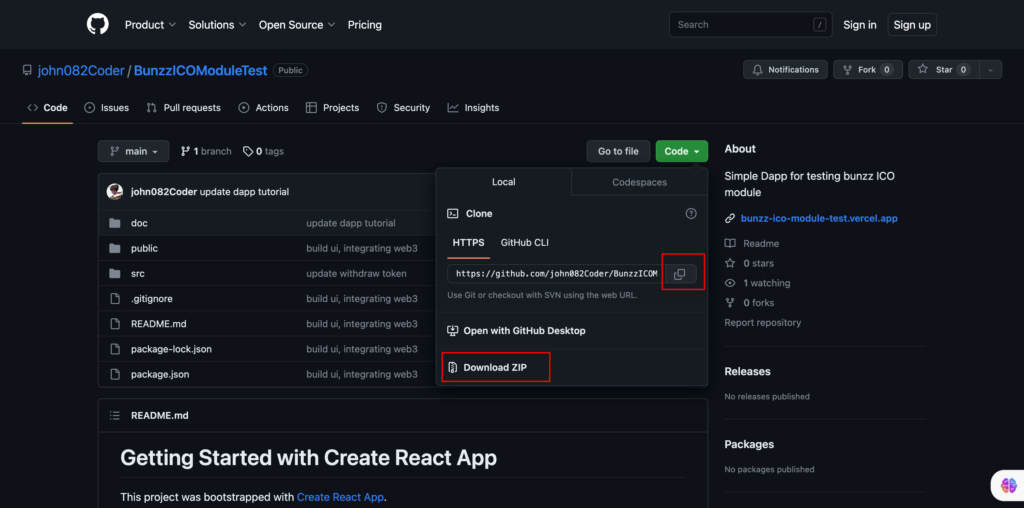
- Optional: Clone the ICO DApp boilerplate from GitHub. This provides a convenient starting point and saves you time in setting up the basic structure of your DApp.
With these components in place, you’ll be ready to build your ICO DApp using the ICO contract module. Let’s get started!
Building an ICO DApp with Bunzz
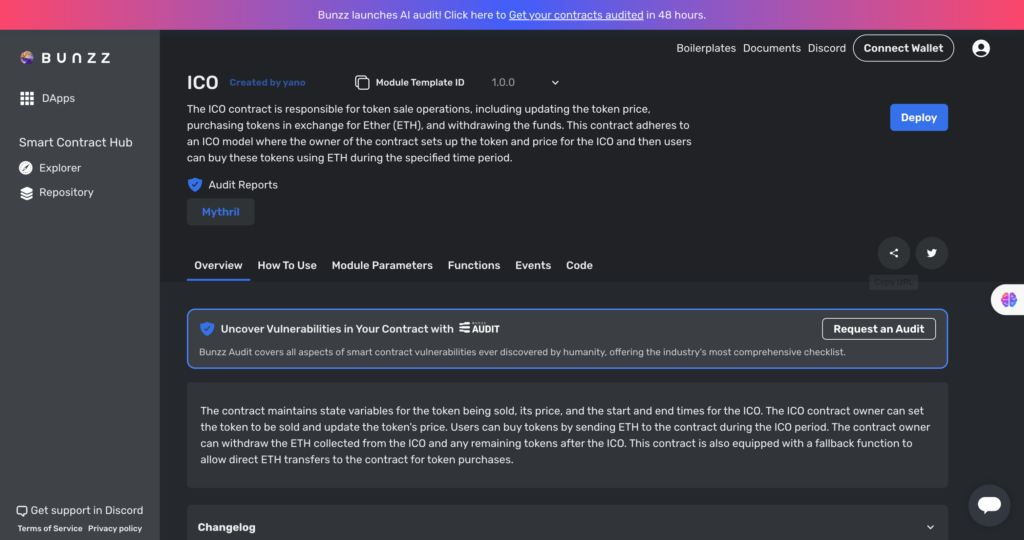
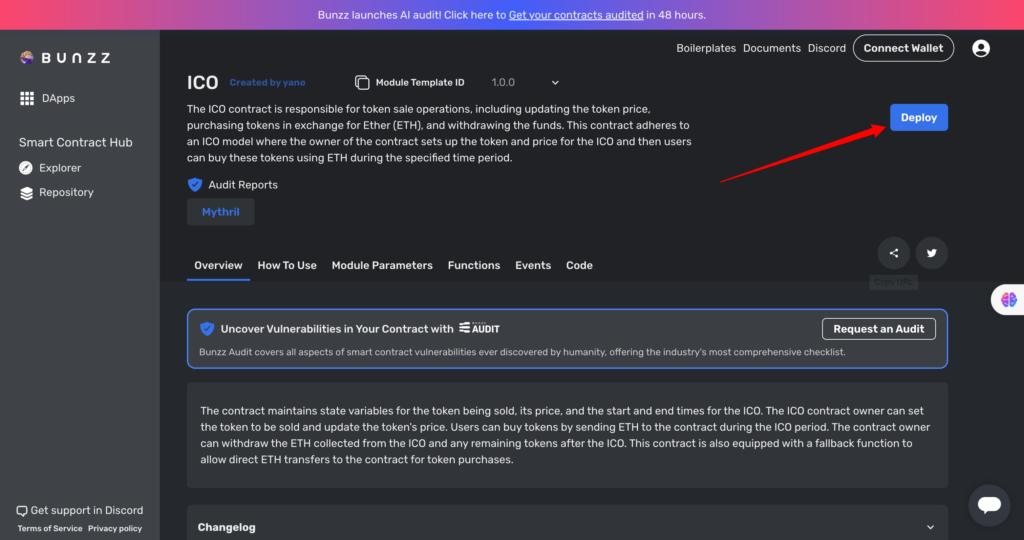
As previously mentioned, the ICO smart contract template on Bunzz simplifies the development of ICO DApps. In this section, we will guide you through the process of building an ICO DApp using the module template and the ICO DApp boilerplate.
The ICO DApp boilerplate was built using the following:
- React.js for the Front-End and user interface
- ICO smart contract deployed from Bunzz
- Web3.js and ethers.js interact with the smart contract.
- Binance Smart Chain (BSC) Testnet
Here are key steps to ensure you have everything needed to run and customize the boilerplate for your use case:
- Clone the GitHub repository of the ICO DApp boilerplate to your local computer.
- Open the cloned repository using your preferred IDE, such as Visual Studio Code.
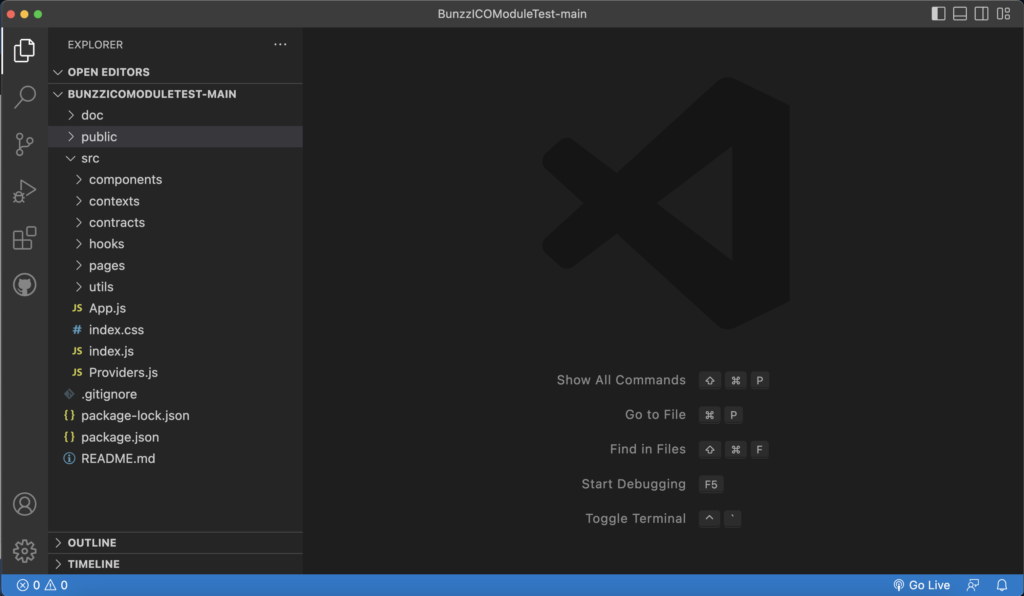
- Install the necessary NPM packages by running npm install or yarn install in the terminal.
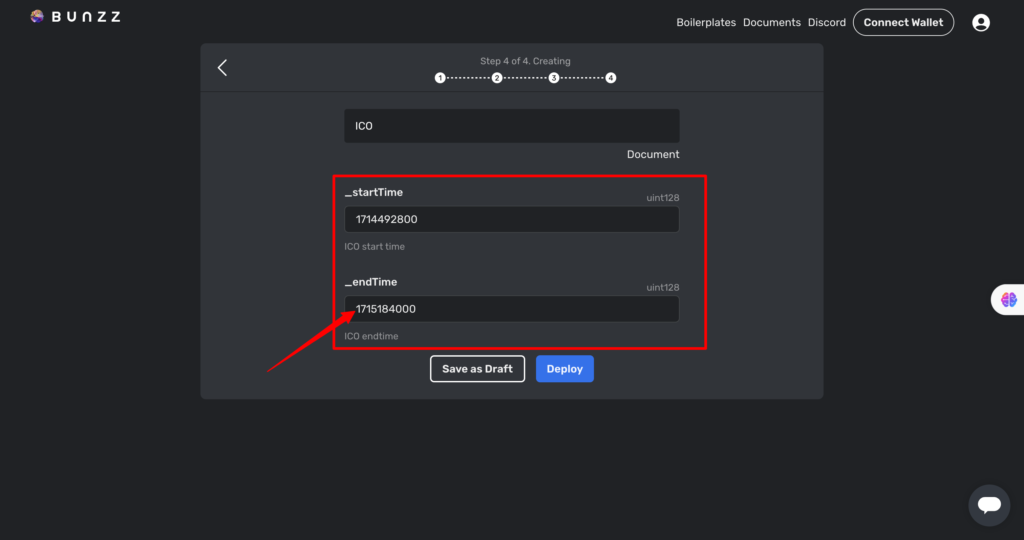
- Before deploying, pass _startTime and _endTime parameters
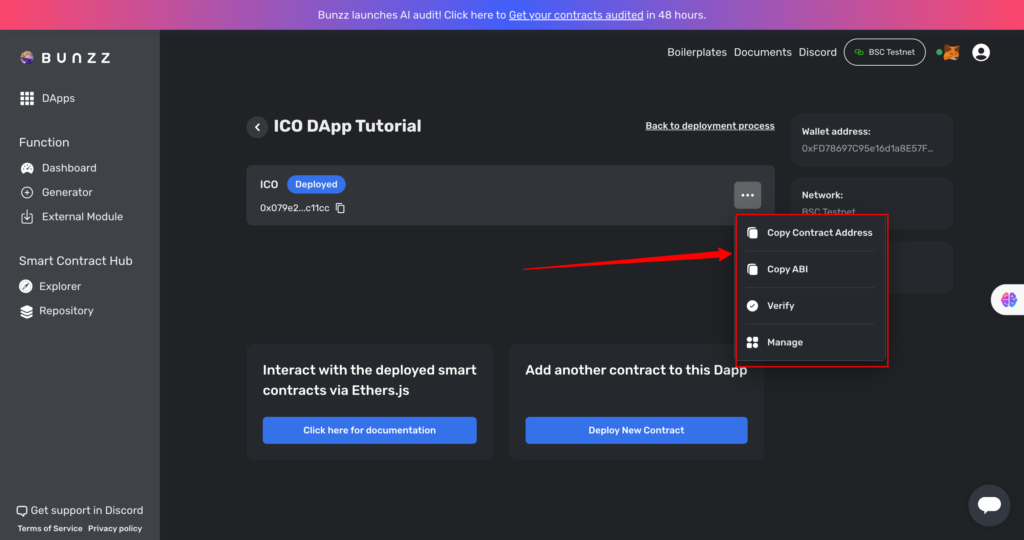
- After deployment, Copy the ABI and smart contract address from the Bunzz dashboard.
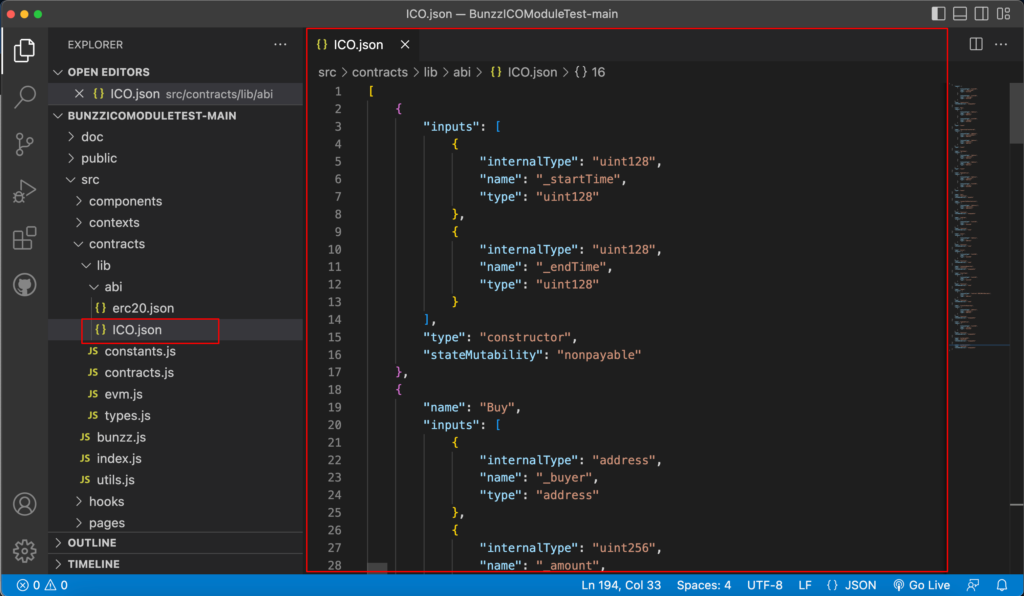
- Open the ICO.json file and replace the existing ABI content with the one you copied from the Bunzz dashboard. Do the same for the erc20.json file (deploy an erc20 token, copy ABI, and replace the existing file with it)
- Open the constants.js file and locate the smart contract address variable. Replace the current address with the one you copied from the Bunzz dashboard.
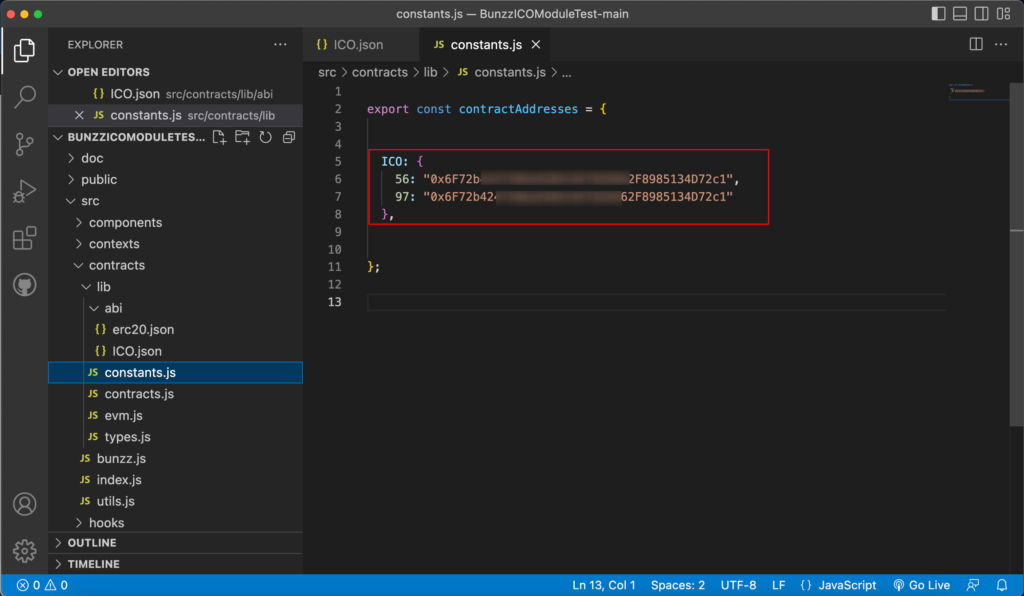
PS: 56 represents the BSC Mainnet ID, while 97 is the BSC Testnet ID.
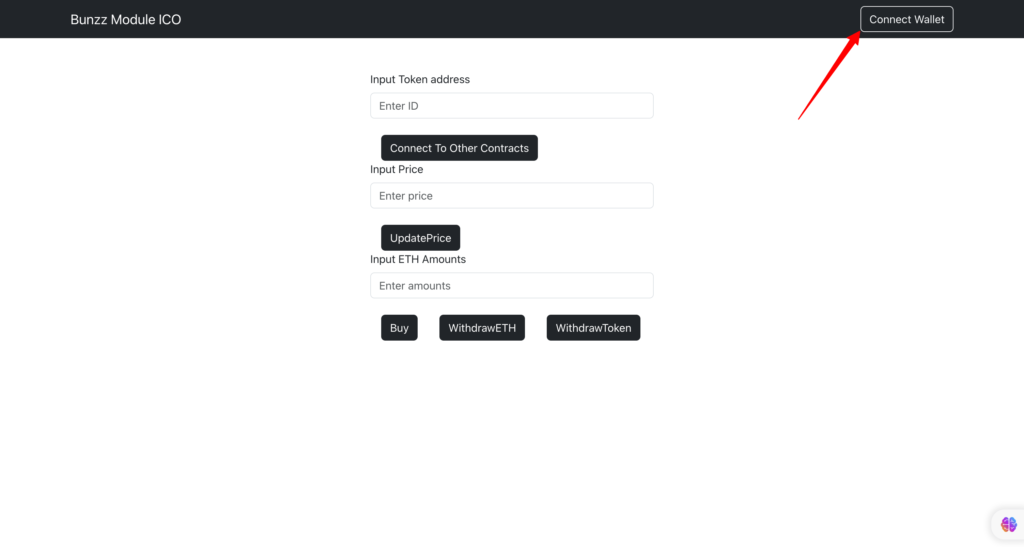
- Start the app by running npm run start or yarn run start. The DApp will look like the image below.
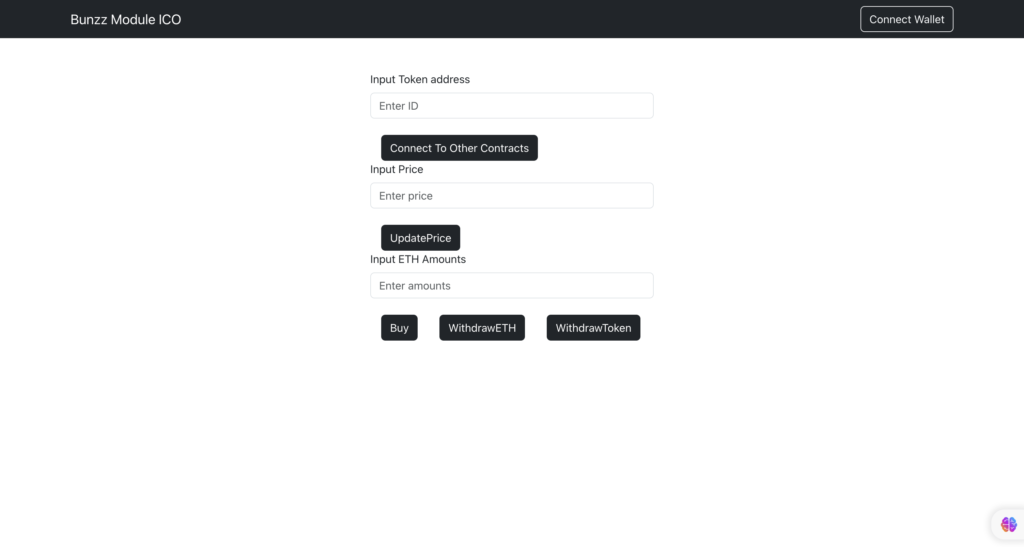
Interacting with the DApp
- Wallet connection: Connect your wallet by clicking Connect Wallet button at the top right of the screen.
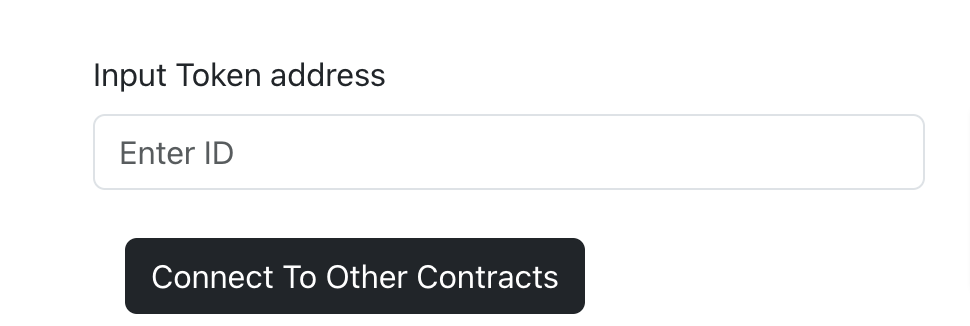
- Connect ICO token to the module: Input the token address and set the ICO token address by clicking the Connect To Other Contracts button.
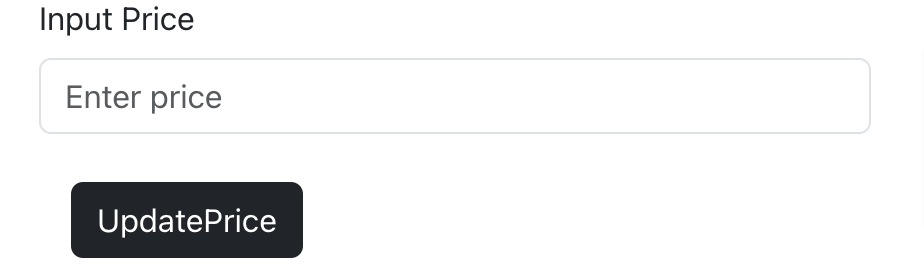
- Update Token Price: Input the new price and update the ICO token price by clicking the UpdatePrice button.
- Buy tokens: Buy tokens by clicking the Buy button. You have to deposit ETH depending on the token price.
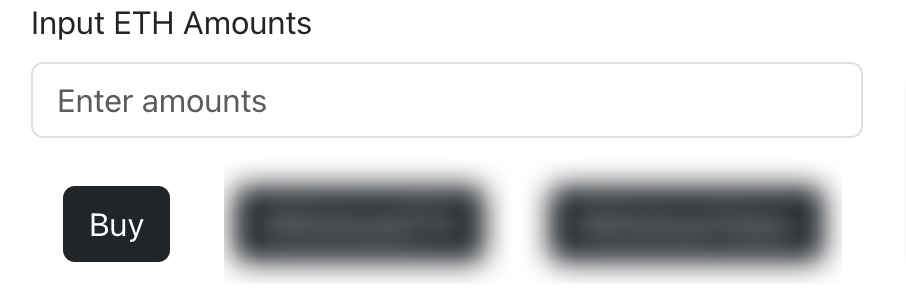
- Withdraw ETH and Withdraw Token: As the Owner, you can withdraw the ETH and remaining tokens from the ICO module by clicking the WithdrawETH button and the WithdrawToken button.

Following these steps and using the provided boilerplate will give you everything you need to build and customize the ICO smart contract module for your specific use case.
We’re excited to see what you’ll create! If you encounter any issues or have questions, please contact us on Discord or send a direct message on Twitter.